- 1.
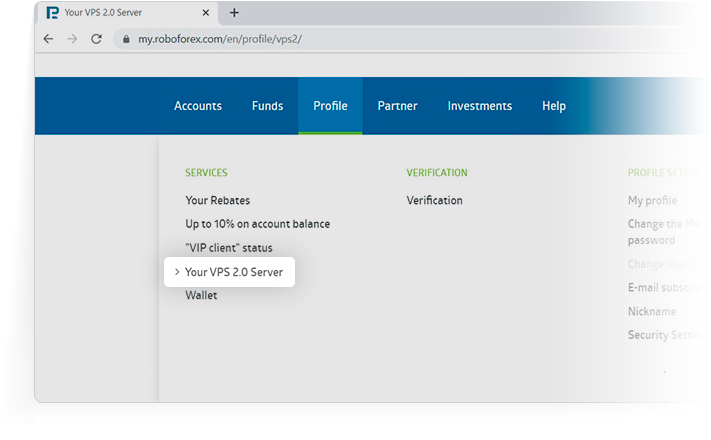
Go to the "Your VPS 2.0 server" page of your Members Area. Here you can find all necessary information for a VPS connection via Android.
- 2.
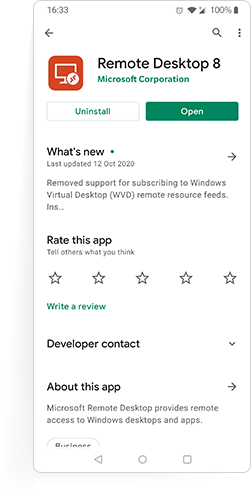
To use a free VPS server via RDP for Android, install Remote Desktop 8 or any other application that supports Network Level Authentication (NLA) on your device from Google Play. Further instructions are for connecting through Remote Desktop 8.
- 3.
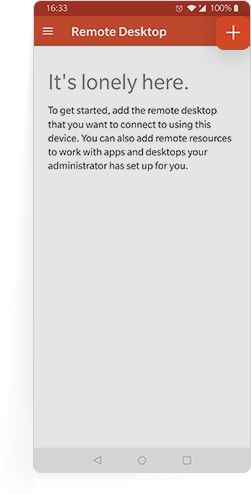
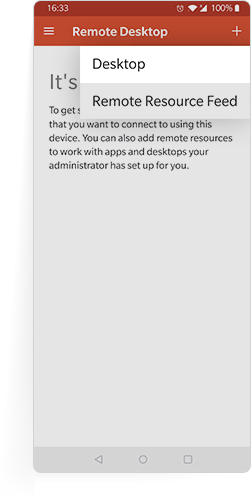
Run the application on your smartphone and click "+" in the top right corner of the screen to create a new connection.
- 4.
Choose "Desktop" in the next menu.
- 5.
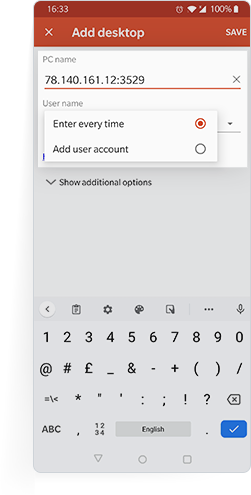
Specify the information for RDP connection to the VPS server in the “PC Name” and choose whether you will enter this data every time you connect or save it in your account. The information can be found on the "Your VPS 2.0 server" page of your Members Area.
- 6.
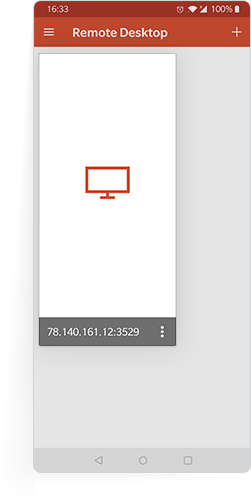
To connect to your VPS server, choose the connection you created in the application on your Android device.
- 7.
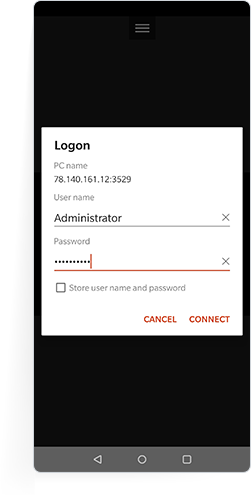
In the next window, enter your login and password.
- 8.
You VPS server is ready for work on Android!